I bought a Silhouette Cameo a couple of years ago, and honestly, it languished in a box on my floor for all that time. Sometimes new technology is fantastic and sometimes it makes me want to weep. I couldn’t imagine that the interface would be all that easy, and I had plenty to do without another learning curve to figure out. BUT I was WRONG about it all!
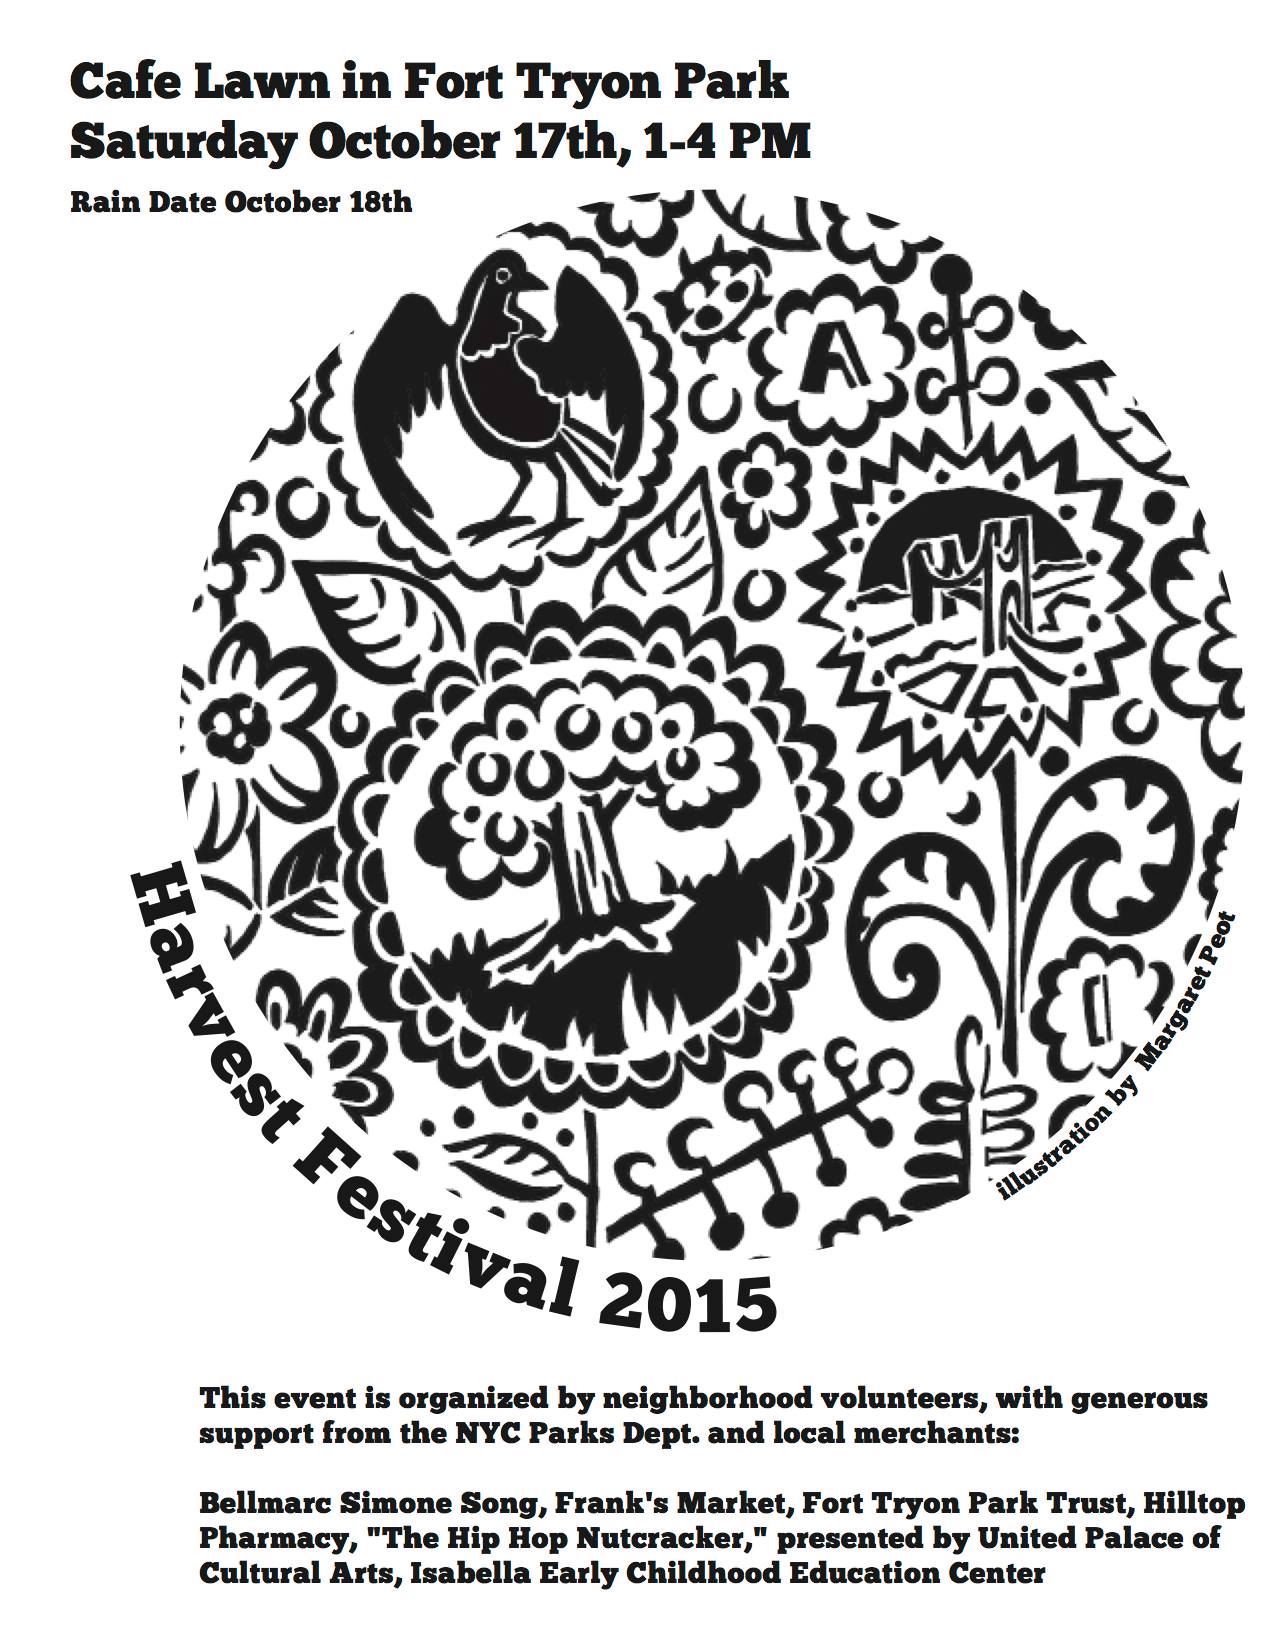
 I had to design a poster for the annual Harvest Festival. It is the 14th year of this fantastic event in upper Manhattan, and I have done a woodcut for each of the previous 13 years. This year, my hands were tired from another intense project, I had two days to crank something wonderful out and knew that I couldn’t carve and print a block that fast. So I dragged out the Cameo, set it up, and not to sound like a testimonial, it was SO EASY. The above is the four color print that I made to raffle off for the event, and I made a separate one color print for the poster and t-shirts:

Here’s some additional pictures from the process. I used 5 mil matte stencil plastic and it cut great. If you are not familiar with this machine, it has a little moving blade that cuts various materials, from paper of varying widths, fabric, vinyl, and various products that the Silhouette company sells. I found working with the stencil plastic that I am familiar with was easiest, and didn’t use their products. Best of all, the cutter makes a very cute, busy sound as it is cutting–almost musical. An added bonus! This is an excellent tool.


