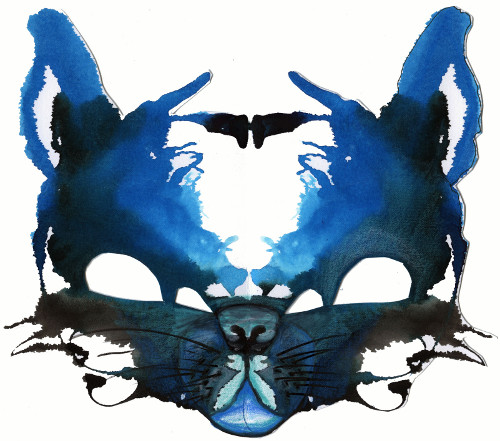
You Will Need:
-About ten pieces of 8 1/2 by 11 inch lightweight paper, such as computer printer paper
-Medium-to-heavy weight art paper, about 18 inches by 24 inches. One piece will make approximately four masks. Ask an an art supply store for heavier drawing or printmaking paper. -India ink (get the little bottle with a dropper inside, such as Higgins) -Optional: a variety of colored inks -Clean water -Brush or cotton swabs -Newspaper to protect your work surface -Colored pencils -Black pen or felt tipped marker -One yard of ••• or ••• inch elastic -Stapler -Optional: a small piece of duct or masking tape, about 4 inches. -Scissors or an X-acto knife Tip: India ink is permanent, and won’t wash out of your clothes. So wear an apron or old clothes when making inkblots!
Making a Pattern of Your Face
To make a mask that fits your face, you need to first make a pattern of your face. To do this, fold in half the 8 ••• by 11 inch sheet of paper parallel to the short edge (illustration). Hold the paper up to your face so that the fold is at your nose. Holding the paper lightly against your face with one hand, gently pinch your nose through the paper, trace around your eye sockets with your fingers, and press the paper into the indentation of your mouth. When you take the paper away from your face, you will see the wrinkles in the paper made by your features. Draw around the feature-dents with a pencil, like so (illustration). With scissors or an X-acto knife, cut out the eye holes, a triangle for the nose and a thin slit for the mouth. Don’t worry that it is not perfect. This is just a guide and not the final product. Put this aside for now.
How to Make a Basic Inkblot
Inkblots are easy to make! I bet some of you have made them already. The basic method for making an inkblot is to apply ink and sometimes a little water to a piece of paper and fold it on itself, and unfold to see the image. Here are five tips to make sure that you have some control over the marks you make.
1. Pre-fold: If you fold your paper in half before you apply ink, you will have more control over how you press down on the ink and water when you press one half of the paper on the other. When you don’t pre-fold, the ink will tend to ooze up and down the fold line as you crease the paper.
2. Only One Side: Only apply your ink and water to one half of the paper.
3. Not Too Much Liquid: You don’t need very much ink and water to make an inkblot, just a couple of drops of each will do. If you don’t like how your inkblot looks when you unfold it, you can always add more and fold it again.
4. Vary Pressure: Try different ways of applying pressure on the paper when you fold it onto the ink: press gently on one and smack your hand down on another and observe how the marks change.
5. Precision Inkblotting: Making inkblots is not as random as you might think. What if you wanted to make an inkblot that looked like a butterfly? If you applied the ink on one half of the paper to look like a butterfly wing, and folded the paper on itself, what would happen? What if you wanted to make a face?
On the remaining sheets of 8 ••• by 11 paper (not your face pattern!) make some inkblots using the above tips. Have fun!
Making an Inkblot Mask
Cut the 18 x 24 inch piece of paper into four equal parts. You can divide it into four by folding it in half, and then in half again, perpendicular to the fold line you made initially (illustration). You can then cut along these fold lines with scissors.
Take one of these four rectangles and fold it in half, so that the fold is perpendicular to the long side of the paper (illustration). Unfold, and place your mask pattern on the fold so that the folds match up. Holding this in place with one hand, lightly trace around the holes you have cut, transferring these marks to the art paper. Put the face pattern aside.
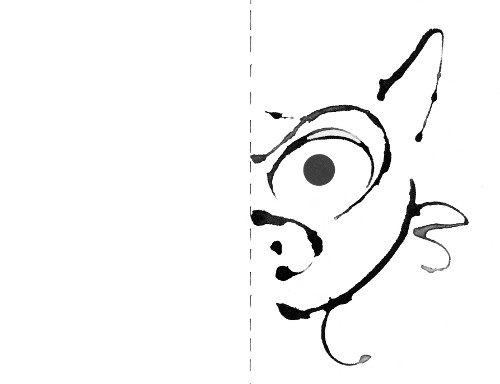
Apply ink to the paper with the ink dropper. You can add some water with a cotton swab as well, of you wish. Make eyebrows, ears, a chin on one half of the paper. Above, I am applying ink with a pointy ear shape, hoping to get a cat mask. Fold and unfold.
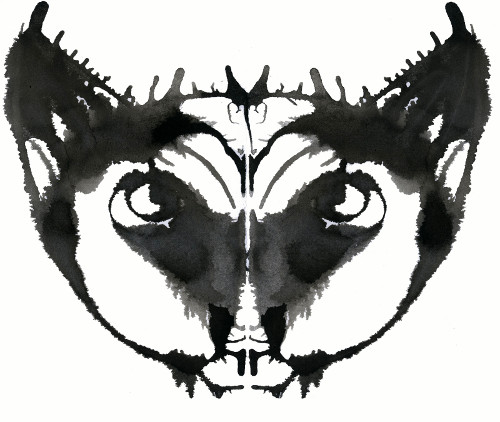
Using colored pencils, draw in to your mask to add features, or emphasize what you see in the blot. You might have been aiming for a dragon face and got a long eared puppy instead—we can control the ink somewhat, but sometimes get wonderful surprises! On my cat face, I wanted to add a pink nose, a tongue and whiskers, as well as emphasize the ears and the muzzle. Then, cut out the mask (you don’t have to cut around every little inky squiggle, just around the basic shape), and cut out the eyes.
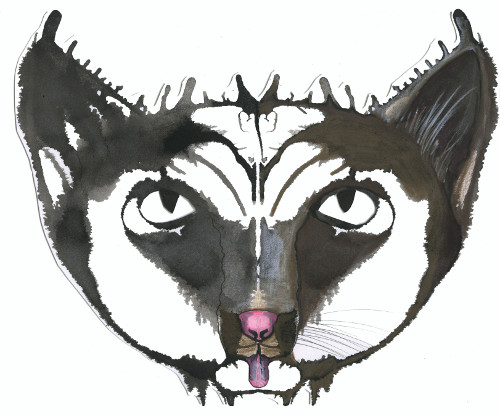
Attach elastic with a stapler:
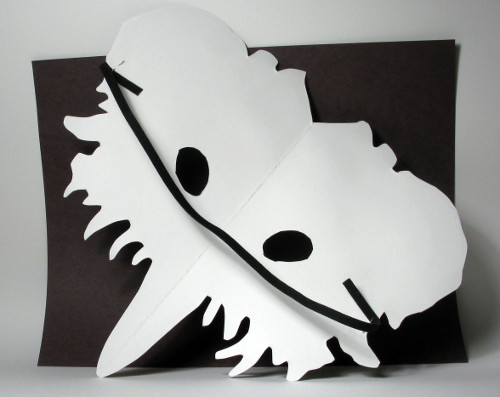
Now you are ready for a masked ball, a dress up game, Halloween. Or, you and your friends or classmates could write a play, and give words to your masked characters.
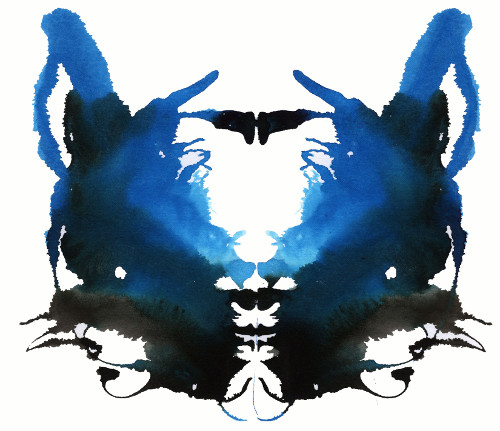
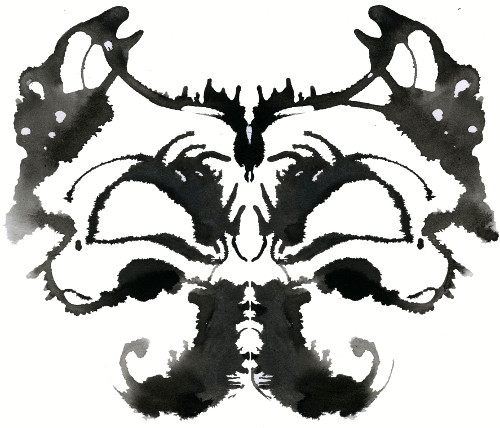
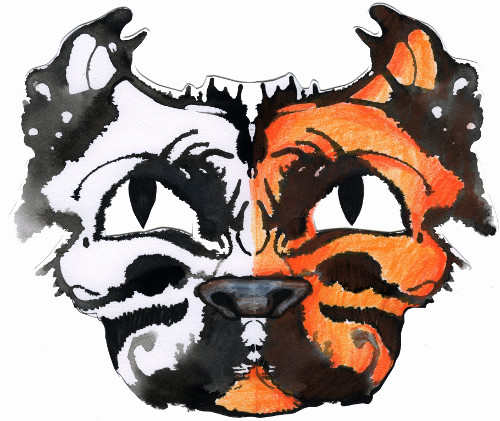
Here’s a blue bat and a tiger, too:

Inkblot_Masks_Activity (Downloadable PDF)
